
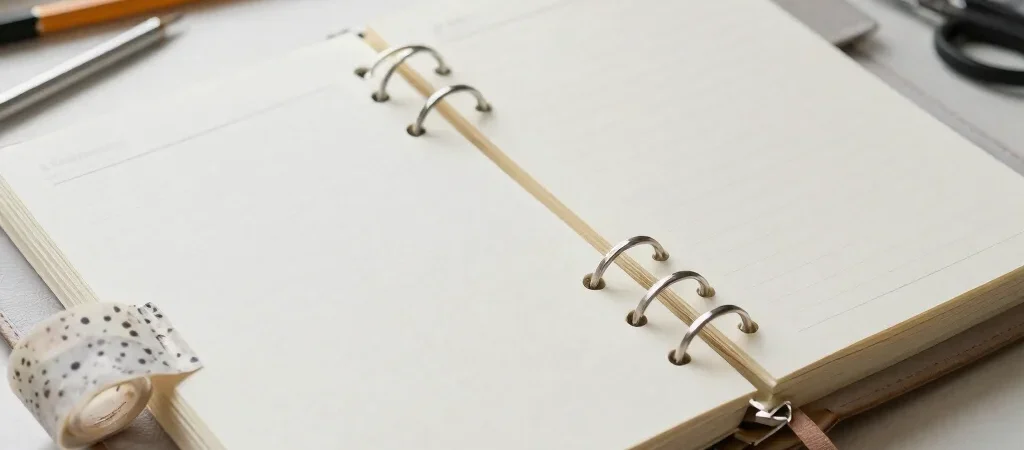
Sometimes the note you need most is the one that keeps slipping between planner pages. A removable dashboard gives it a home at the front of your weekly spread, without asking you to commit to a permanent layout. Make it simple: one sturdy paper panel, a tab you can grip, and space for the details you actually check.
Cut for Your Planner
Measure the page height and width inside your planner, then cut a piece of cardstock slightly narrower so it can turn without catching on the binding. If you want the dashboard to sit above the pages, leave a small tab extending past the top edge. Test the fit before decorating; a dashboard that catches every time you turn a page will quickly become clutter.
Add Details That Help
Use a small piece of washi tape to reinforce the tab, or round the corners with scissors if they feel too sharp. Keep the front mostly open for a short weekly focus, a reminder, or a note that changes often. If you add pockets or extra layers, check that they do not make the planner difficult to close.
Keep It Easy to Refresh
A dashboard works best when it can change with the week. Write on a removable sticky note, or use pencil if you want to reuse the cardstock. At the weekly reset, clear anything that is finished and decide whether the same reference still deserves a place at the front.